In the second of my "how-to" blog articles, I'll cover how to build and use the famous "Hopkins fish trap." At least, it should be famous. This device is responsible for catching more live mormyrid specimens than any other, and it has worked for me every place I've visited in Africa. Yes, other techniques can work in particular situations (cast nets, seines, dip nets in combo with the "fish finder" I described in my previous article and rotenone works on everything if you don't need them alive), but if you want to reliably collect living mormyrid specimens in good condition in Africa, the "Hopkins fish trap" is the way to go.
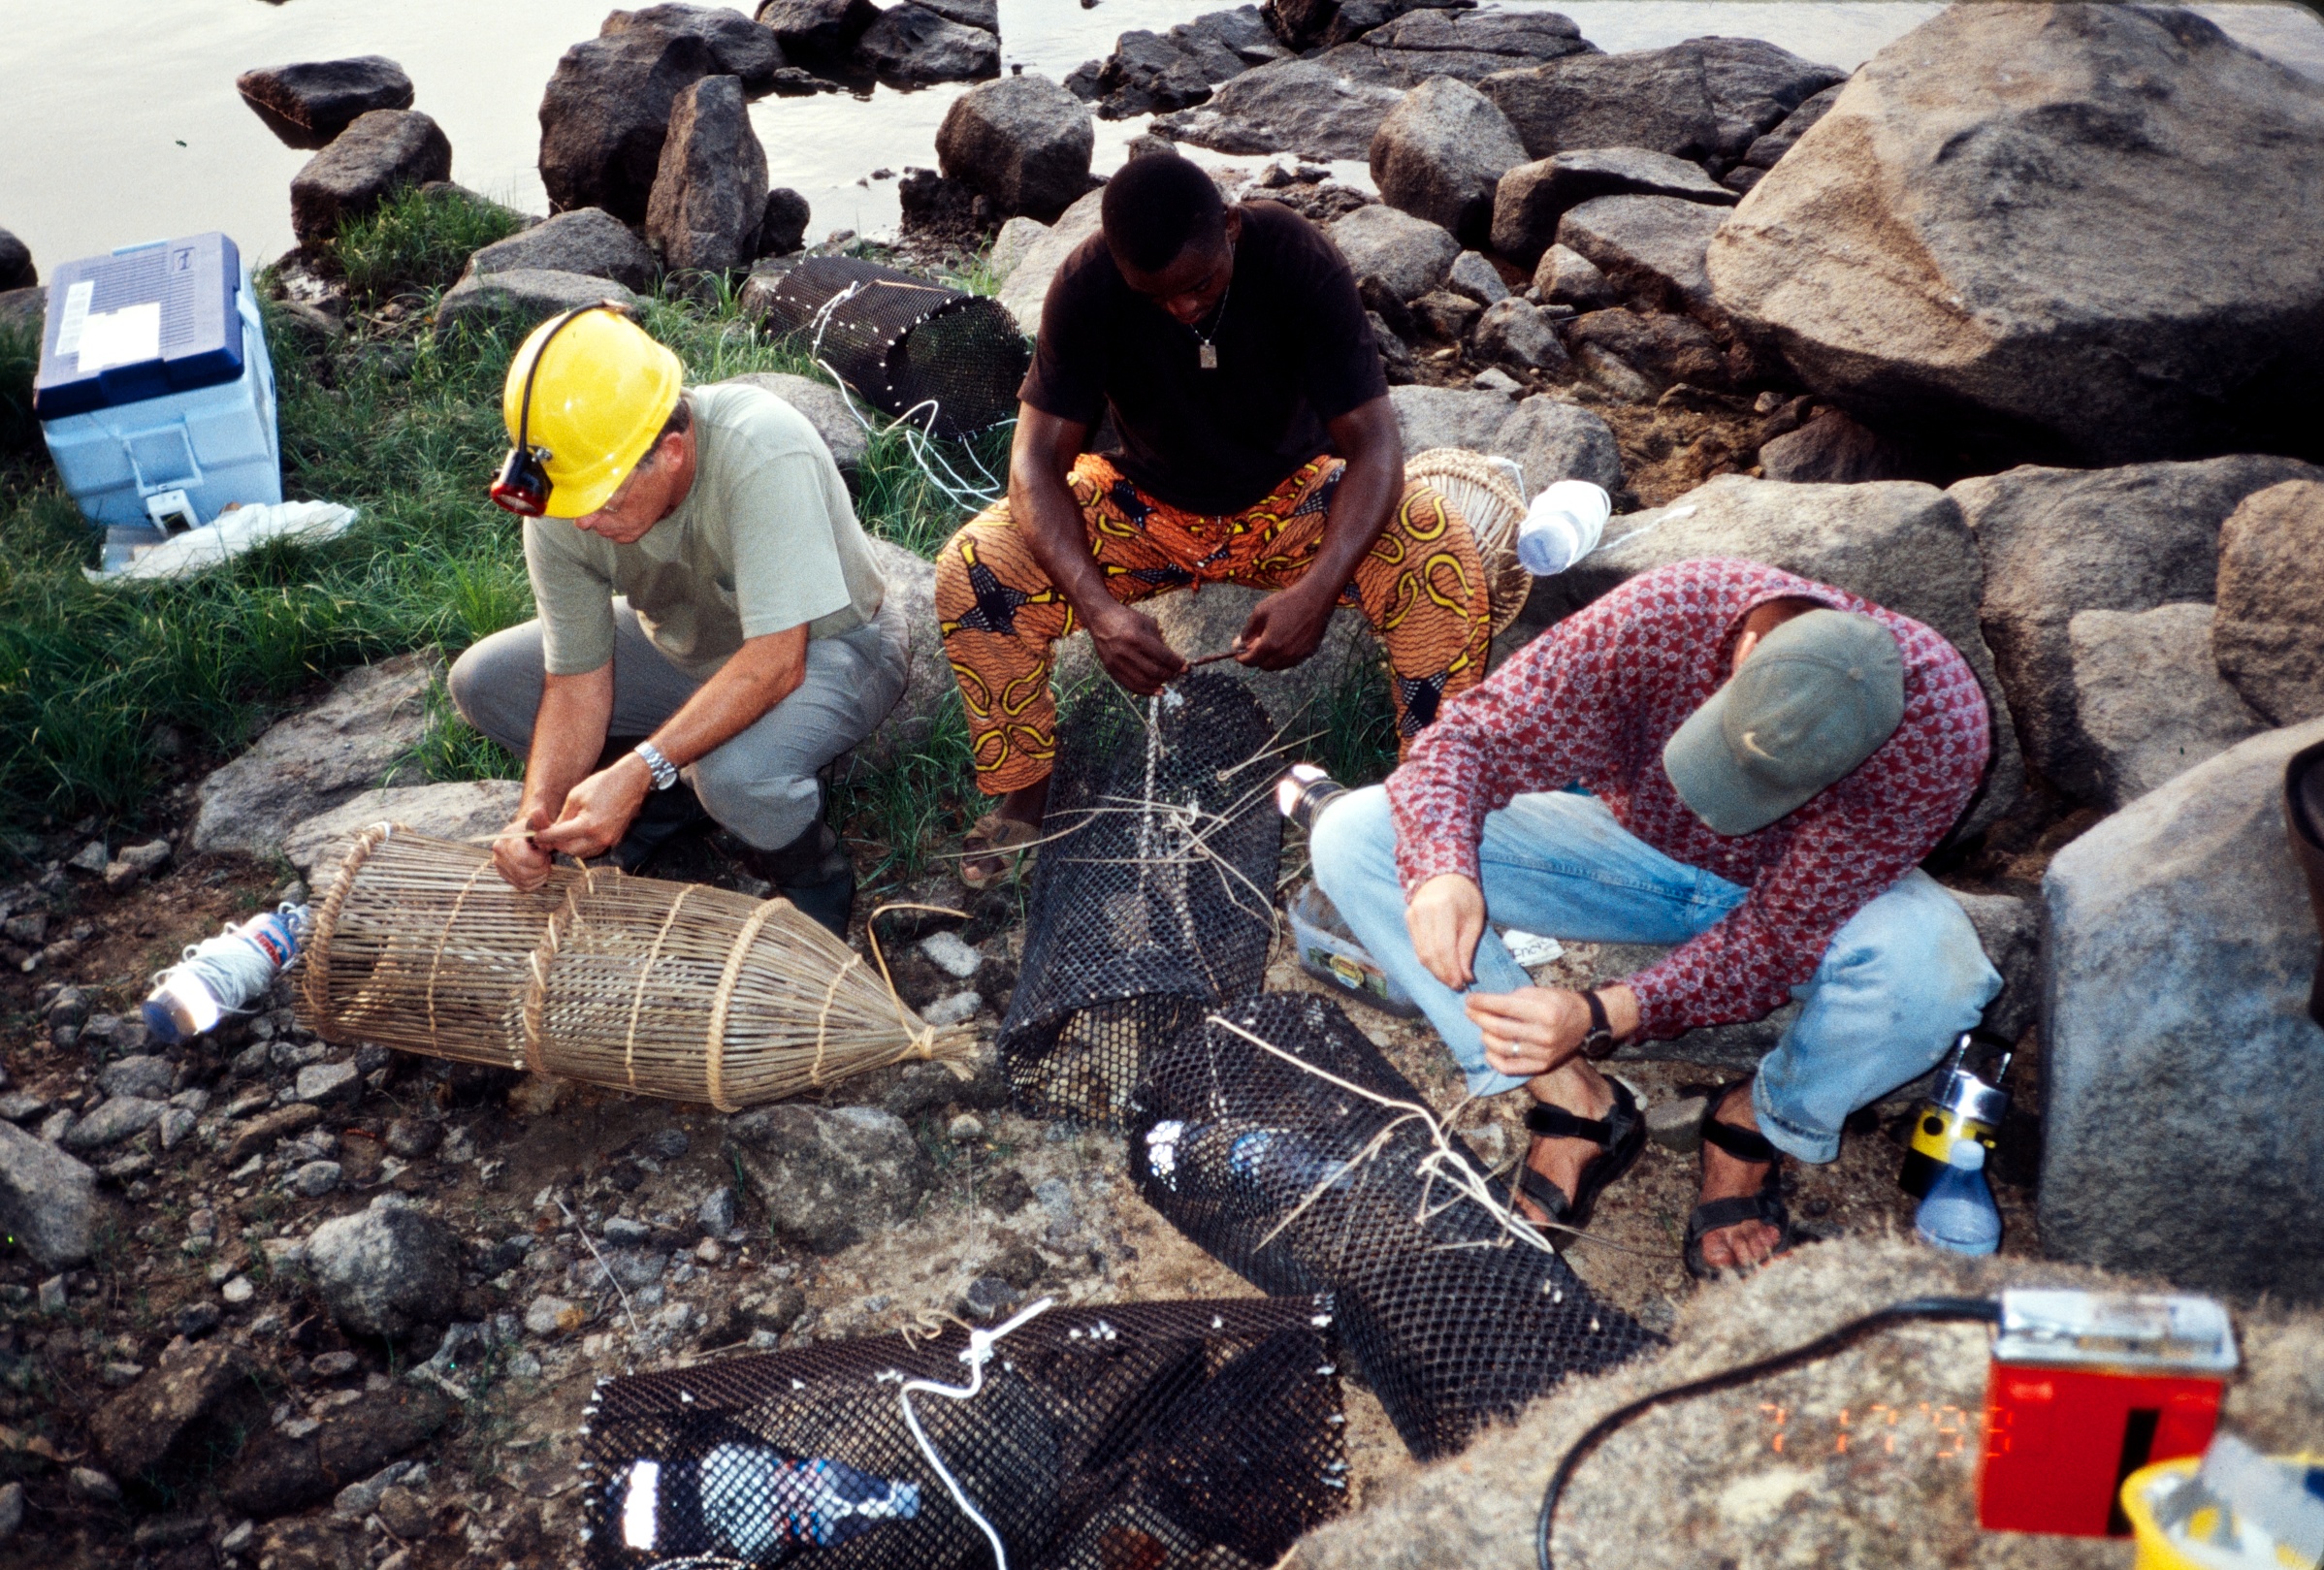
The Hopkins in question is Carl Hopkins, Professor of Neurobiology and Behavior at Cornell University who has been traveling to Africa since the 1970s to study mormyrids. I joined his lab as a postdoctoral researcher and made my first trip to Africa (Gabon) with him in 1998. (The webpage we created about that expedition is still online here.) Carl observed the traps used by fishermen on the Ivindo River near Makokou, Gabon made from bamboo and rattan and figured out how to make an equivalent from material available at the hardware store. These traps are lightweight, very sturdy and can be flattened and popped back into shape many times. The photo at left shows Carl Hopkins (left) baiting an indigenous Gabonese fish trap, Matt Arnegard (right) and a Gabonese helper whose name I forget (center) baiting two Hopkins-model plastic fish traps before a night of fishing on the Ogooué River, back in July 1999.
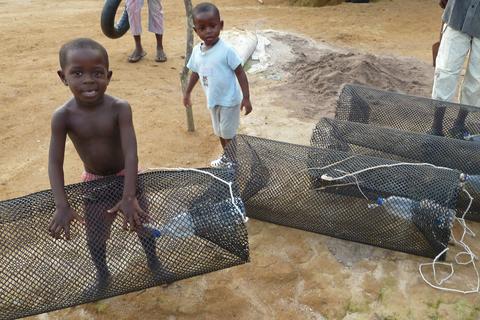
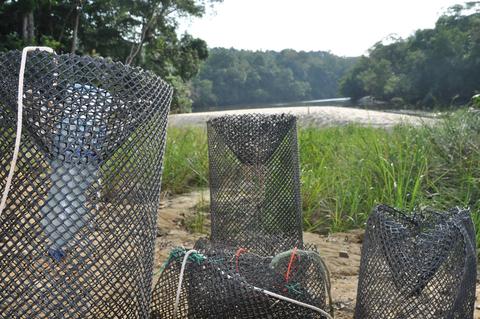
The construction couldn't be simpler: a cylinder with funnels on each end that permit easy entry for a fish, but much less easy escape, entirely made of plastic mesh fencing material and zip ties. (In the photo you can see the white zip ties contrasting with the black plastic.) They are baited with worms threaded lengthwise onto thin rattan skewers so that the worms hang in the center of the trap. Rocks go inside the trap through the funnel opening to weigh it down (and are removed after fishing) and it is suspended by sturdy cord or rope tied to the center. I'm not much of artist, but I have attempted to draw a schematic of the design below. Farther below is the cardboard template we use for cutting out the round pieces that will become the funnels. Note that on the template it indicates a length of 100 cm. I've found that to be a bit long and prefer them to be around 80 cm in length.

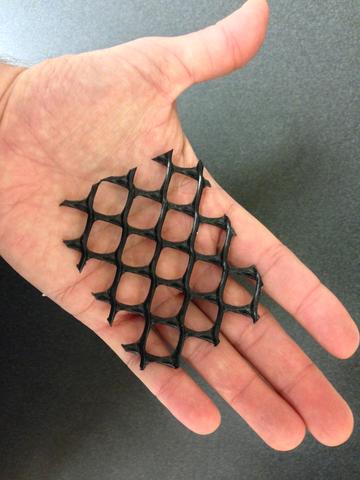
We use plastic mesh fencing material of a type often used in aquaculture applications with a 1/2 inch (13 mm) opening. More specifically, it's black polyethylene "Light Duty Pallet Diamond Security Barrier Net" part no. XB1132. I'm sure other plastic fencing material could be used, but the mesh size is important. Too big and small fish can escape. Too small and you'll have a hard time inserting worms on their rattan skewers into the trap. Also, if the mesh were very fine, the trap would put up too much resistance in the water and get knocked around by the current. XB1132 also has just the right stiffness to flexibility ratio. It needs to be bendable, but at the same time needs to keep its shape in the water (and when yanked out). XB1132 usually comes in a 4' x 500' (1.2 m x 152 m) roll, but I've found other retailers online that sell 100 foot rolls and even by the foot. Before each mormyrid collection trip we cut out the pieces to construct several traps, but wait until we reach our destination to complete the assembly with the zip ties. I lay the cut-out pieces into the bottom of a big duffel bag. (I have a system I like where I pack two specimen barrels end-to-end in a duffel lined with trap material.)
The roll of XB1132 is 120 cm (4 feet) tall. Cut out a rectangular piece 80 cm long (120 x 80 cm) with heavy duty tin snips or pruning shears. When you assemble it, you'll take the long (120 cm) end and bend it over on itself so it forms a cylinder 80 cm long. Overlap about 15 cm along what will be the top of the trap so that the ends of the cylinder are 25-30 cm in diameter (~12"). Align the holes on the mesh so that there will be no problem inserting and withdrawing worms on the rattan skewers and secure with zip ties to make your cylinder. With a reproduction of the funnel template below, cut out two 56 cm (22")-diameter circles that will be the end funnels. Cut out one quarter of the circle and circle center as shown in hatch pattern on the template. Form a funnel by bending the straight edges together. Match the size of the funnel to the trap cylinder before affixing zip ties to hold the funnel shape in place. Then join the funnel to the cylinder by affixing zip ties along perimeter of the funnel. Make sure not to leave gaps big enough for fish to slip through.
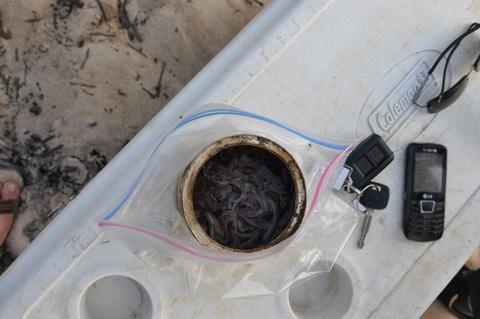
The key to the success of this trap is that mormyrids love earthworms. Nevermind that earthworms must make up a very small part of the diet of most mormyrids (most eat aquatic larvae of insects), the odor/taste of earthworms in the water reliably starts a mormyrid feeding frenzy if any are in the vicinity. Even species of Mormyrops which are largely pisciviorous can't resist. The only exception are species of Petrocephalus, which are mid-water hunters of suspended invertebrates like copepods and Daphnia. However, even they will occasionally be taken in these traps. Of course these traps will catch other species besides mormyrids, although it is remarkable how mormyrid-skewed your catch will usually be (assuming you're fishing in a creek, stream or river in tropical Africa!) Of the 183 fish I caught in these traps on my 2014 trip to the Ogooué River in Gabon, 164 were mormryrids and the "by-catch" consisted of 7 cyprinids, 4 Synodontis, 4 mastacembelid eels, 2 claroteid catfishes, and 2 distichodontid characiforms. With the exception of Petrocephalus which were more often caught by seine, very few mormyrids were caught by other methods. Oftentimes how many mormyrids you can catch is only limited by the supply of earthworms. Getting a good quantity requires finding someone who can dig them for you. Local boys, ages 8-12 are your best bet and they are also often enthusiastic fishing companions. (Fix the price for worms ahead of time...the equivalent of $2-$4 should be enough.) You need the big variety, because they have to be threaded lengthwise onto narrow rattan skewers. Small worms will just break apart.
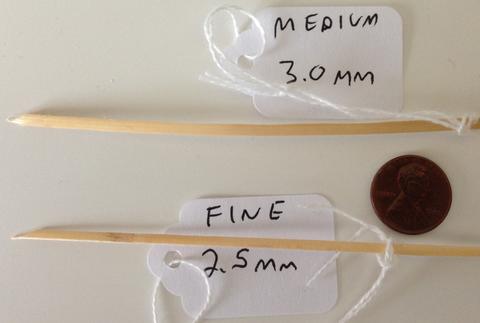
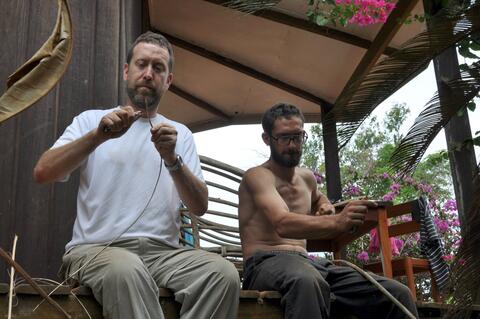
The rattan skewers are a tricky element of this design. I have thought long and hard to come up with something that works better, to no avail. Basically, you have to hold the worms in the center of the trap in a way that will maximize scent dispersal. (Perhaps some kind of mesh bag would work...I don't know.) The rattan skewers when correctly prepared are thin strips, perhaps 20-30 cm in length, 2-3 mm or so wide, with pointed ends. One side of the rattan strip has the "skin" which holds it together and gives it "backbone," while the other side is woody and textured. This keeps the worm from sliding off. When rattan gets old, it gets brittle. You need the fresh stuff that is still flexible. People use rattan all over Africa. It's pretty much available (at low cost) wherever you go, but you need to budget time to find a good supply and have someone prepare the skewers for you, or do it yourself. For each trap you need at least four such strips. You loop each through the "top" of the trap (i.e. on either side of where the tether cord gets tied) and affix it to the trap with a simple overhand knot. Each end can be pulled outside the trap to have worm threaded on, then pushed back inside. There are suppliers of chair caning material that sell "strand cane" rattan, such as this one, that might work very well. (It's also avalilable on eBay...I'd try the 3 mm wide size, see below.) Next time I might try this and save myself the trouble of locating a supply sur place.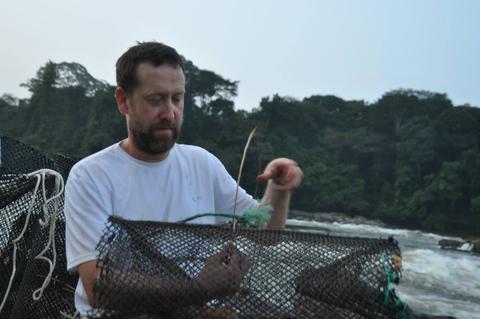
Threading these worms takes a bit of practice. Identify the head-end of the earthworm (yes they have a head end!) and puncture the worm just behind the tip of the head. Push the body of the worm along the skewer and try not to puncture the body wall of the worm as you go. (if you do, just back out and re-thread.) It's kind of like putting on a long stocking. The skewer need not go the of the entire length worm: the posterior 50% can dangle into the center of the trap.
There are many possible variations to this design one can imagine that might work equally well, or even better. We have stuck to this design because it is simple and works, even though it's not perfect. Retrieving fish through the funnel opening can be tricky and the cut ends of the material are sharp and can cut up the top of your hand. When pulling up the trap, the rocks can crush or injure fish. Perhaps a one-ended design with a closed end that can be opened would be something to experiment with. Here's a video on YouTube showing such a design. Also, the builder of this trap used hexagonal plastic poultry netting that may be more easily available than the XB1132. Here's someone else's design for a trap very much like ours: http://www.instructables.com/id/fish-trap/ and there are various plastic "minnow traps" available from internet retailers that might work well. My advice would be to steer clear of those made of metal. Our results indicate electrosensitive mormyrids don't like metal traps. Some minnow traps have openings too small for larger mormyrids.
I like to put 25 feet (~8 meters) of cord on these traps. (I've fished these traps in all depths of water: from just enough to cover them, to 6-7 meters deep.) Use heavy-duty, laundry-line-type cord and tie it securely to the center of the trap, going through several of the openings where the mesh is doubled-up so that you are pulling from the sturdiest part of the trap. Sometimes these traps get wedged or stuck on underwater structure and you don't want the rope, trap plastic or knot to fail if you have to pull hard. (One of these was claimed by the genie of the Sébé River in Gabon last September.)

So now your trap or traps are baited and ready to go. What now?
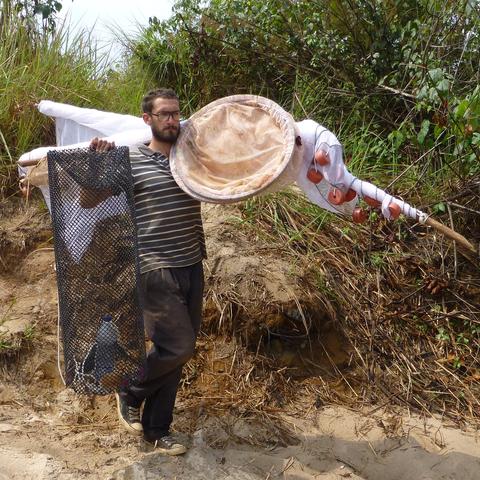
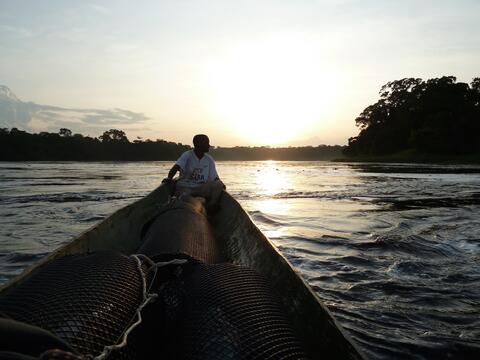
Mormyrids are nocturnally active fishes. Best fishing with these traps is right after sunset which is always about 18:30 in equatorial Africa. (At this time, mormyrids come streaming out of their daytime hiding places and they are famished!) Remember, it takes a while to bait them up, so get started threading the worms on at least 30 min before sunset. The traps can be fished from a bank, from rocks, or from a boat. When doing the latter, you'll want to use an empty water bottle as a float. (In the first image, you see we have affixed reflective tape to the floats so that they're easily visible when illuminated by a headlamp.) It's important that the trap rest more or less flat on the bottom so fish have access to both ends and the worms remain in the middle. When tossed in the water, it should sink in the horizontal orientation. If it doesn't, pull it back and try again. (The rocks need to be in the middle of the trap when tossed.) The number of rocks you'll need to add through the funnel opening will be a function of how much current you're placing the trap in. You don't want it to budge from where it comes to rest on the bottom. Use rocks with smooth, not sharp edges that could injure the fish during retrieval.
Selecting a good spot is crucial. Along an undercut bank, around or under a root mass is a good bet for a creek, and close to or among rocks is a good choice for a larger river. Look for eddies on the back side of boulders, or other places near strong current, but not directly in it. Sometimes scouting out a site during the day with a handheld amplifier of the type described in my previous article is a good idea. If you hear a cacophony of electric noise at a site, it's a sure bet the traps will work there like gangbusters.
These traps are not meant to be left in the water overnight, or even for longer than 30 minutes. Fish can eventually find their way out of these and will seek to do as soon as the worms are consumed. I find 15-20 minutes is a good interval of time for checking baited traps. Fish are removed by hand. You have to gently slide the fish towards one end, taking care not to pinch them between rocks. Insert your hand through the funnel and gently grab the head-end of the fish and guide it through the trap opening. It's good to do this procedure over a net or the container the fish are going into in case the fish jumps as you extract it. Replace worms that have been eaten at each check. In between trap checks you can fish with other methods, such as a cast net (good for Petrocephalus!) or sit back, relax, enjoy a beverage & listen to the sounds of an African river at night!
I always have one or two coolers pre-filled with river water, waiting to receive the fish and battery-operated aerators ready if needed.
When you're done fishing for the night, make sure to remove the used worms from the skewers. Dried worms on the skewers will ruin them (and are disgusting!).
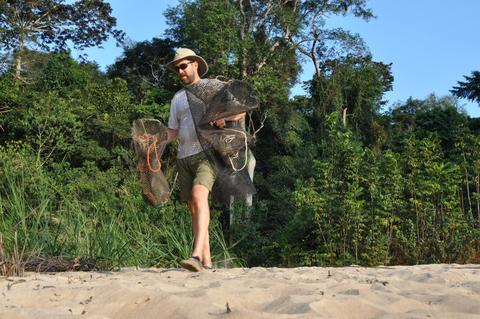
Perhaps that covers it. Unfortunately I don't have any photos or movies of the traps in action because it's always too dark for photography, but below are a few more photos of the traps from trips to Gabon.
If you have you questions, or have suggestions on how these traps could be improved, leave a comment.
Update: the good folks at Peerless Rattan quickly sent me samples of their caning rattan between 1.75 and 3.0 mm in width. (Thanks, Peerless Rattan!) Before seeing these, I was guessing the 1.75 or 2.0 mm width might work best for these traps. After seeing them, I think the 3.0 mm has a better stiffness-to-flexibility ratio. The ends can always be whittled a bit narrower to accommodate smaller worms. See my photo of the 3 mm and 2.5 mm strand cane, above. One coil of this Peerless' 3 mm caning rattan (270' / 82 m) which costs less than $15 would be enough to outfit about 50 traps!
- JPS


Comments
Very helpful
Thanks so much for sharing this info. I may try this on next trip to Ibadan.